Let’s say that you have downloaded loads of study material, in the form of online textbooks, for your upcoming exam. They are bulky in size when it comes to storage.
Once they’re done downloading, you want to look up some content, so you go to open the files, only to find that they all have been compressed neatly, into a single folder.
It sounds good, right? Everything you need in one place compressed to save storage. But here comes the nightmare- the time it takes to open the entirety of the data. Now, how does one go about this?
This article will help you understand why this happens, and will also show you ways to disable this automatic feature on your Windows desktop.
Page Contents
What Is Automatic File Compression In Windows, Is It Needed For Me?
Microsoft Windows operating system comes pre-equipped with a feature that works to compress files automatically. The primary function of this file compression feature is to save space by storing data in a small size. This compression is very efficient and doesn’t affect your file. Whenever you open your file, it is decompressed into its original size. You won’t be able to make out the difference in the file, and it is a very efficient feature to use when needed.
But the main drawback of this feature is the additional time taken by windows to decompress and open the file for you. Although the time is taken to decompress, the data is minimal, but in the case of larger files, you can feel it’s taking much more time than usual. Some of the most trusted file openers do active work by compressing all of them.
Nevertheless, this feature is intended to save space on smaller drives and drives, which are almost out of storage space.
In case you have a drive with an ample amount of storage and no longer need the automatic file compression feature, don’t worry we have got your back. In this article, we will discuss three different ways by which you can turn off the automatic file compression feature in windows.
Related Article – Guide to start a blog
How To Know If Windows Automatic File Compression Feature Is Enabled On Your Computer?
The simplest way to know if your Windows is using an automatic file compression feature is by looking at the icon of your files or folders. If your data is uncompressed, then it will look normal, but in case the file is compressed by an automatic file compression feature, you can notice that there are two small arrows in blue color pointing at each other.
1. Manually Decompressing Selective Files And Folder
You can quickly decompress a file or folder which was compressed by the automatic file compression feature in windows by following the steps mentioned below accordingly.
- Click on the file or folder that is compressed by the automatic file compression.
- Now right-click on it, a new context menu appears.
- In the context menu, click on the properties, an original dialog box appears.
- Go to the general tab and click on the button which says advanced.
- A new dialog box with the name Advanced Attributes appears.
- In the advanced attributes menu under the compress or encrypt attributes section uncheck the box which says compress content to save disk space.
- Click on the OK option.
- A new small dialog box appears, which asks you if you want to decompress even the existing subfolders.
- Click on the yes option.
You now have decompressed a file or folder along with its subfiles and folders successfully.
2. Disabling Automatic File Compression Using Windows Local Group Policy Editor
Please note that this method of disabling the automatic file compression feature works only on computers running on Enterprise or professional editions of Microsoft windows. In case you are a home version user of windows, we recommend you use method two or method 3 of this article. If you are having a professional or enterprise version of windows, please follow the given steps to disable the automatic file compression feature easily.
- Click on the start button or press the Windows key.
- When the menu appears, search “Run.”
- Now click on the “Run” app. After clicking, a new dialog box appears.
- In the “Run” dialog box, search “gpedit.msc” and click on OK or press the enter button.
- Now the windows local group policy editor opens, go to the Computer configuration folder, to the administrative templates, and then find ‘system’ and open.
- In the system, the envelope goes to the file system. Then open it and click on NTFS.
- You will see an option “Do not allow compression on all NTFS volumes” double click on it and a new dialog box opens.
- In the dialog box, change the previously selected option, which is enabled to the Disable option, and then click on OK.
- Restart your PC or Laptop for the changes to take place.
Keep reading the article for disabling automatic file compression if the above didn’t work or if you are a windows home user.
Must Read – Recover from Outlook Error ‘Exchange is Currently in Recovery Mode’ With Ease
3. Disabling Automatic File Compression Using The Windows Registry Editor
This method of disabling the automatic file compression feature uses the windows registry editor. It is effortless to follow and is less time consuming; moreover, it works for windows home users. To disable automatic file compression using the Windows registry editor, follow the steps mentioned.
- Click on the start icon or press the Windows key.
- In the start menu search “regedit” or for windows 7 and windows XP users search “run”
- Open the run app and search “regedit” then click on ok or press enter button.
- A new window appears, in this new window find Computer click on it.
- You will find many folders and subfolders, but you need to select the and open the first folder named “HKEY_LOCAL_MACHINGE” click on it then again find “SYSTEM” open it.
- Find and open “CurrentControlSet” the open Policies.
- In the policies folder on the right side, find and double click NtfsDisableCompression in the dialog box, which appears to change the value data to “0” and click on OK.
- Restart your computer for changes to take place.
4. Disabling Automatic File Compression Using Command Prompt
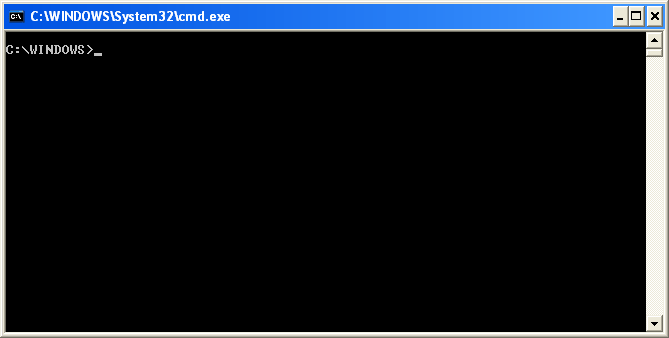
You can easily disable automatic file compression using the command prompt following the steps mentioned below.
- Click on the start or press the Windows key, the start menu appears.
- Search “CMD” or “command prompt” in the search bar, right-click on it and click on the run as administrator, and press yes in the pop up that appears.
- A new command prompt for Windows appears.
- Type the following command “fsutil behavior set disable compression 1” and hit the enter key.
- Restart your PC or laptop for changes to take place.
")


Leave a Comment